Verifying your website on Pinterest is an easy way to gain access to additional features, including more in-depth analytics. Follow the steps below to verify your site:
1. Log in to your Pinterest account and navigate to account settings. Click the “Confirm Website” button next to the website field.
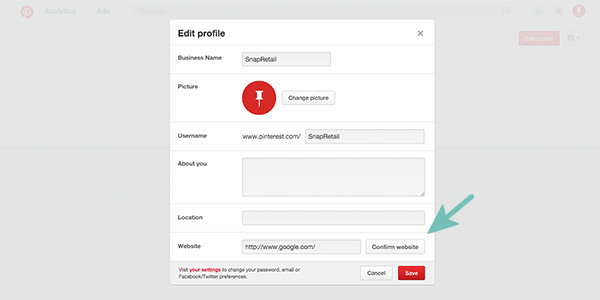
2. You’ll be given a meta tag (a small amount of code) to add to your website. There is also an option, to download an HTML file to upload to your site. We’d only recommend this if the meta tag is not possible or not functioning.

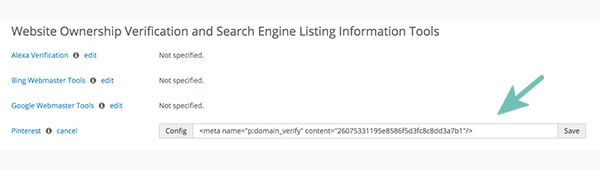
3. Copy the meta tag from Pinterest and paste it into the html code (the back-end) of your website. For SnapRetail subscribers, there’s a field waiting for this code on the main website page, directly below Google Webmaster Tools.
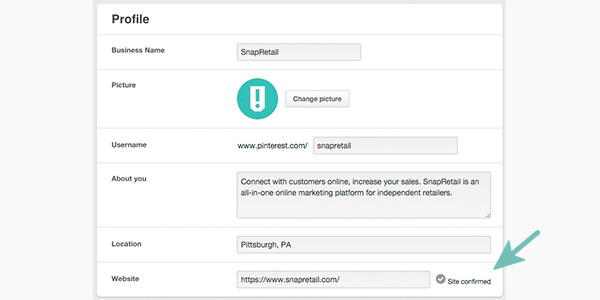
4. That’s it! Check your settings on Pinterest to make sure the verification process was successful. Please note, it may take some time for the changes to update and reflect back to Pinterest. If you don’t see the verification immediately, check back after several hours or even the next day. It can also take up to 48 hours for website data to pull into Pinterest analytics.
Not only does verifying your website add credibility to your Pinterest page, it also adds some nice benefits to your account.
First, when anyone pins from your website, it will automatically pull in your business’s logo or profile picture to the pin. You’ll also gain access to website-level Pinterest analytics. This includes metrics like impressions, repins, and clicks for all pins from your website, not just those you’ve added to your own Pinterest page.


Leave A Comment